Monday, February 2, 2015

Balloon and Tassel Tail Instructions.


***IF YOU ORDERED A SHAPED MYLAR BALLOON  - Use the paper straw included to inflate your balloon (or get it inflated with helium at the arty store) - insert it into the balloon, inflate like a normal balloon, then remove straw and press balloon edges together firmly - it will self seal. Follow the above instructions for the tassel portion of your tassel balloon, then simplay knot the tassel tail to the inflation tab on your balloon, or tape it on in any location you like. Once you are done with your balloon, you can insert the straw and press all the air out and store it for another party :) 

Let me know if you have any questions :)


Tassel Garland Tips

Even if you purchase the fully assembled garland, here are some pointers before hanging!

1. If anything is a bit wrinkly, you can easily smooth out with your fingers. So smooth out any mail wrinkles, and if it ever gets hit, you can simply re-smooth later on.

2. I put the tassels on the garland, but you can remove and re-position in your preferred order. See below:


3. Now simply trim any extra string, make knot loops, and hang :)

Please let me know if you have any questions!

Chloe

DIY Tassel Garland Instructions

Here are some simple instructions - please feel free to email me any questions :) 


Then just trim any extra string if necessary, make some simple loop knots,  and hang on hooks :)


**MYLAR -  If you ordered mylar tassels, after you loop, you need to add a dab of hot glue before twisting to secure since mylar does not stay twisted like tissue paper. You could also use plain school glue and wrap it in an elastic or clamp it with a laundry pin for an hour or so.

Fringe Backdrop Curtain Instructions

It is fairly straight forward, but some people like it written down, so here you go!

1. pick which color you want to be the bottom of your curtain.
2. Take that panel, and tape or pin one end so the bottom of the fringe is where you want the bottom of curtain to be (floor for some people, table top for some, orhalf way up the wall even if you are just doing portraits). Unfold and pin the other end now.
3. Take the next color you would like just on top of that bottom one. Pin or tape so the bottom of the fringe just hides the top un-fringed portion of the bottom panel. Unfold andpin other end now.
4. Repeat until you have built your whole curtain! 
5. Take super cute pictures, have a blast at your event.
6. email them to me for discount coupons!
7. recycle your curtain - it is 100% recycled and recyclable!

Confetti!

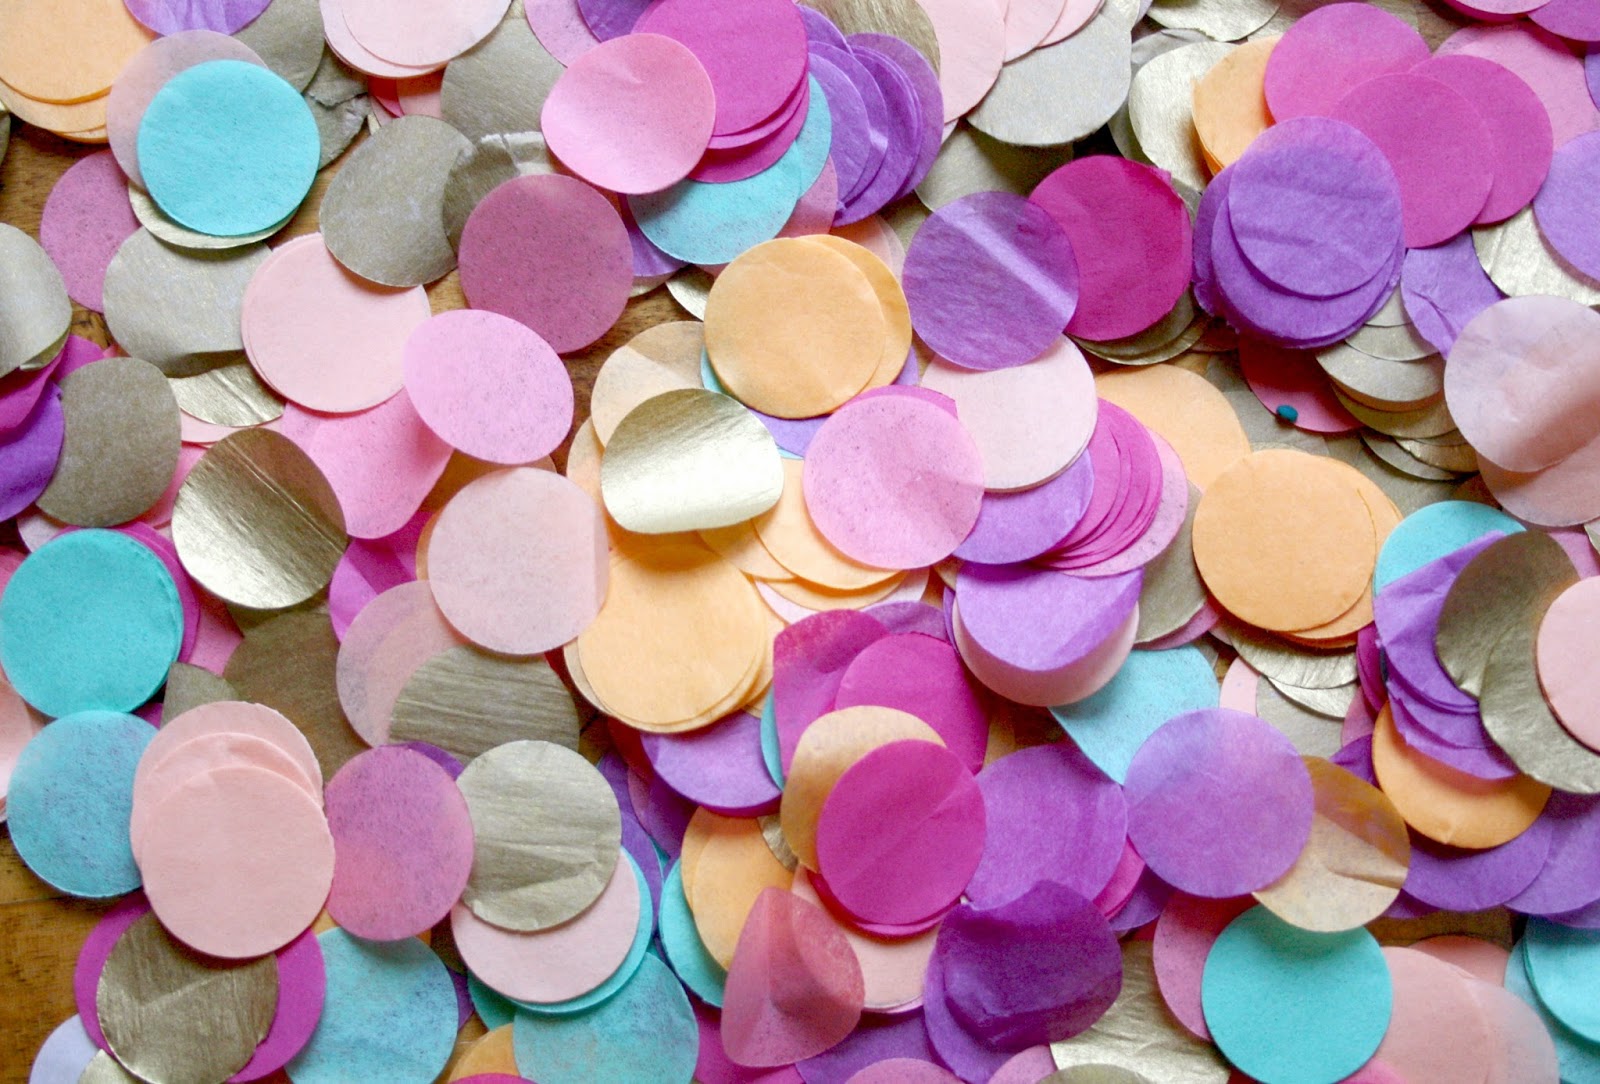
Just a note that when you receive your package the confetti is compressed for shipping. Take it out of the small bag and put it in a ziplock type bag and SHAKE. Then, SHAKE. Then, SHAKE SHAKE SHAKE. Okay, I think you get the point - to separate the layers of paper, the more shaking the better. The volume should increase by 36 times.


Fringe Pom Lantern Instructions.

Fringe Lantern Pinata instructions - Please let me know if you need any extra clarification :)


here is the fringe attaching:


Unwrap the fringed strips and start wrapping from the bottom around. Be sure to press the strip down firmly to secure it to the lantern (and to ensure the tape is adhered well.)  Work your way around the lantern in a spiral, adding tape or more strips as needed, until you reach the top. Add a piece of tape to the end to finish. Fluff the fringe a bit.

just use normal scotch tape:)

and to make a pinata:


Take a 4- 5 inch square piece of freezer paper and cut a circle.  Tape a piece of twine to the dull side.  Cut two slits on opposite sides of the circle, this will allow the circle to sit flat in the lanternaround the wire form.  Insert the circle, twine side down, through the bottom of the lantern.  Flatten with a wooden spoon from the top.  You just want to make sure there are no big open holes where the “plug” doesn’t sit flush so the confetti will stay in.